Step and Repeat Tips
Step and Repeat Tips from Start to Finish
Any event you plan is a once-in-a-lifetime event. Your preparation and planning may be well worth the time spent and in the end you will be very happy you put in that time and effort.
Here are some tips when ordering a step and repeat:

Backdrop
Decide the size of your banner

How many people will be at your event? And more importantly, how many people would you like to take a picture of in front of the backdrop? The 8×8 banner size is the most popular size backdrop, but an 8×4 will do for smaller events and an 8×10 or 8×12 is your best bet for larger events.
Seamless
First and foremost, please make sure the banner is seamless. The last thing you want is two banner pieces sewn together with a huge seam down the middle of your step and repeat banner.
Go with a matte banner — not glossy
You do not want a glossy banner material as this will cause your step and repeat banner to be shiny and produce a glare which is not good for photos! Make sure the banner material is matte and not gloss.
White backgrounds
Although the banner material is matte in itself, the bright white of the material may produce a strong glare. To prevent this, you can add a slight gray to the background of your step and repeat banner although it will still appear as a white background. This will help with the glare.
Go with a non-glare fabric
If your budget allows it, go with a non-glare fabric material, it costs just a little bit more than vinyl, and you won’t have that camera glare, sheens or overexposed logos due to super bright lighting.
Design
The design is important
The step and repeat backdrop banner is designed for photo opportunities.
These banners are also made to make the background more attractive. Step and repeat banners have the power to transform any event into an official red carpet event by creating an eye-catching ambiance.
These photos will persist for years on the web and in print, so attention to the design is very important.
Use theme colors for the banner
Events look professional when there is a theme and when all the colors match and coordinate. Choose colors for your step and repeat that coordinate with the theme colors for the event.
Decide on your logos
Decide which logos you would like on the step and repeat. A quantity of 2-4 logos looks best. A quantity of 5-6 logos is pushing it. Any more logos than that, and the message isn’t clear and the backdrop appears very cluttered. Make sure to include YOUR company logo. You can sometimes get so wrapped up with deciding which sponsor’s logos to put on the banner that you forget about your own! Pick your own logo, any partner’s logos, event logos and then the sponsor’s logos.
Step and repeat pattern
How should the logos be arranged? Logos repeated in a pattern are pleasing to the eye. Depending on how many logos you have, choose a pattern that works best for you. We have some sample patterns you can browse through here. You may also choose not to go with a typical pattern and choose something a bit unique or wild. Here are some design ideas.
Proper space between logos
Make sure the logos are not too close together. Also, make sure there is not too much blank space between the logos. This is important as you want the logos to be seen in the photos. A professional designer in this field will be able to help you with a layout.
No pixelation
Logos which are pixelated, blurry and fuzzy will ruin the step and repeat and look very unprofessional. Make sure your logos are large with a high-resolution. If you want absolutely no pixelation with a sharp and clean print, use “Vector” logos. With “vector” graphics, you can scale the graphic ANY SIZE and it will not pixelate or distort the graphic. Vector graphics and logos print very cleanly with no pixelation and look very professional!
Size of logos
The logos can be different sizes. Realize that you will be looking at the step and repeat pattern on a small computer screen, but that the printed banner will be very large. A typical logo size is about 9” wide to 11” wide. Logos that are box shaped tend to look better if they are smaller – about 5-7” wide.
Logos that are low quality and a bit pixelated should be made smaller. Logos that are very crisp and clear can be made larger.
Decide which logo is the most important and make that logo larger than the others.
Lighting
Hire a professional
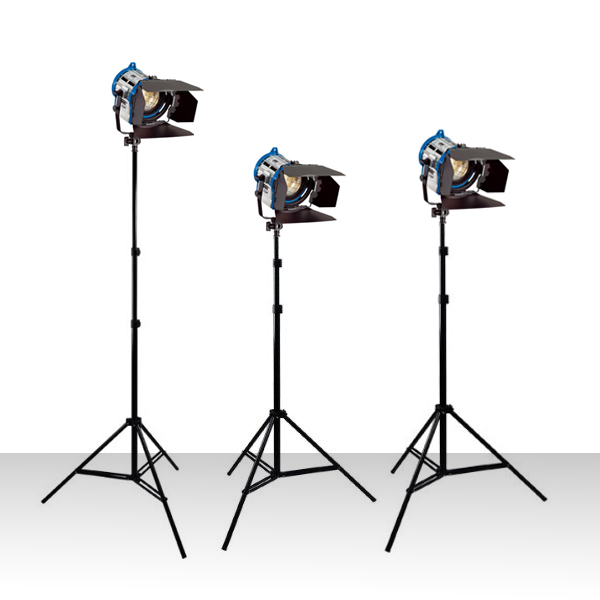
The lighting of the backdrop along with flash photography must be considered. Flash photography is the biggest problem. It is difficult to control the lighting when many photographers are shooting away simultaneously. Consider hiring a professional photographer who is experienced in taking pictures of people in front of step and repeat backdrops and who is familiar with lighting and angles.
Allow lighting testing beforehand
You may want to set up the banner and lighting beforehand to test the background lighting and angles.
Take a picture of the step and repeat banner and celebrity figure at an angle to avoid a perpendicular photo shot. A face-on shot will create a bright glare on the photo. (Unless you have a non-glare fabric backdrop, then this isn’t a problem.)
Beware of shadows
Beware of shadows! Adjust the lighting and direct the guest in the position you want, so as not to create a large shadow on the banner.
Photography
Hire a photographer
This is so very important. There is a “tech” to photographing step and repeats. Make sure your photographer has taken photos on the red carpet before and understands to capture the guests WITH logos in the back. You want EXCELLENT photos that are clean, crisp and show the guests posing on the red carpet with the beautiful logo backdrop in the back.
Make sure not to take a picture of the edge of the banner. The banner stand is not the most attractive.
If you’re the photographer:
1) Equipment
Verify that the batteries in your camera as well as the spare batteries are FULLY CHARGED. If you’re going to be shooting indoors, also take the battery charger. Determine if you could possibly need any accessories like a tripod, extra lens, filters, etc., and then pack them up. Open the camera and check if the memory is loaded. Estimate how much shooting you’ll be doing, and take with at least twice that amount of memory. (Nothing is more depressing than an incredible photo opportunity but… no more memory!)
2) Prepare
Prepare for the event by thinking about every photograph you want to take and what kind of photography pose(s) you would like to capture. Consider who, where, how, and the type of environment. Thinking about it beforehand will always produce better results.
3) Take Multiple Photographs
Take multiple shots of each pose (remember, digital memory is reusable, a.k.a. “free”). Regardless of what you say or do, people will blink. And don’t count on spotting small problems on the tiny camera LCD screen.
4) Check the LCD Screen
Check the digital camera’s LCD screen only for general framing of the picture, extreme movements and confirmation that all faces can be seen. Do not use the LCD screen for any fine review of the picture! (That is what your computer is for.)
5) Funny Phrases
Have some funny phrases (or something humorously appropriate to your group) handy to use just before you take the photo. Don’t use them when setting up for the shot. And, don’t use the same phrase all the time. Throw in funny anecdotes, phrases, names, words that you know your group will find more amusing than “cheese.” A natural smile looks four times better than a fake one.
Installation and Setup
Have your red carpet items delivered and installed
For Los Angeles customers, eliminate any hassle and have the Step and Repeat LA team deliver the backdrop, stand and carpet (and any other accessories) to your event. We know all the fancy tips and tricks to make your red carpet set-up look perfect….and we can do it fast.
If setting up your own step and repeat:
1) Allow time for set up
Make sure to allow enough time to properly set up your banner, red carpet, lighting, stanchions and rope. Time constraints seem to be a natural part of event set up. Just remember that if you take the proper time and measures to create a fabulous set-up, the results will be there for years as photos are timeless.
2) Read instructions and watch videos
Find the instruction sheet for the stand, and make sure all parts are included. Look at the diagram and pole labels and follow the instructions. This will make it easier in the end. We have how-to videos to help our customers set up displays on their own.
3) Make your backdrop “perfect”
You’ve set up your backdrop on a telescoping stand – but there’s something off about it. Follow these great tips:
- Zip tie each grommet to the pole, little by little, allowing an even stretch through the banner.
- Take each vertical pole and lengthen it to get the maximum stretch.
- Continue to tighten each zip tie to the pole and pull out any creases
- Cut off the extra pieces of hanging zip ties or place behind the banner so not visible
- Place the red carpet below the backdrop for a stunning effect.